In healthcare, education, and research, a clear microscope image is not just nice to have—it’s essential. Pathologists use microscopes to study tissue samples. Lab technicians rely on them to look at blood and other fluids. Researchers use them to make discoveries that can save lives. That’s why it’s important to understand how to clean the microscope lens to keep images clear and accurate.
But even the best microscopes will not work well if their lenses are dirty or damaged. Dust, fingerprints, and oil can block light, blur images, and make it hard to see important details. This can lead to mistakes, wasted time, and higher costs.
Caring for a microscope lens is more than just wiping it with a cloth. It requires the right tools, the correct steps, and a gentle touch. At Syracuse Biomedical Services, we have years of experience keeping delicate medical and lab equipment in top condition. We know that when your lenses are clean and well cared for, your work becomes easier, faster, and more accurate. That’s why knowing how to clean the microscope lens properly is essential for maintaining both performance and precision.
Trust the Experts for Delicate Lens Care

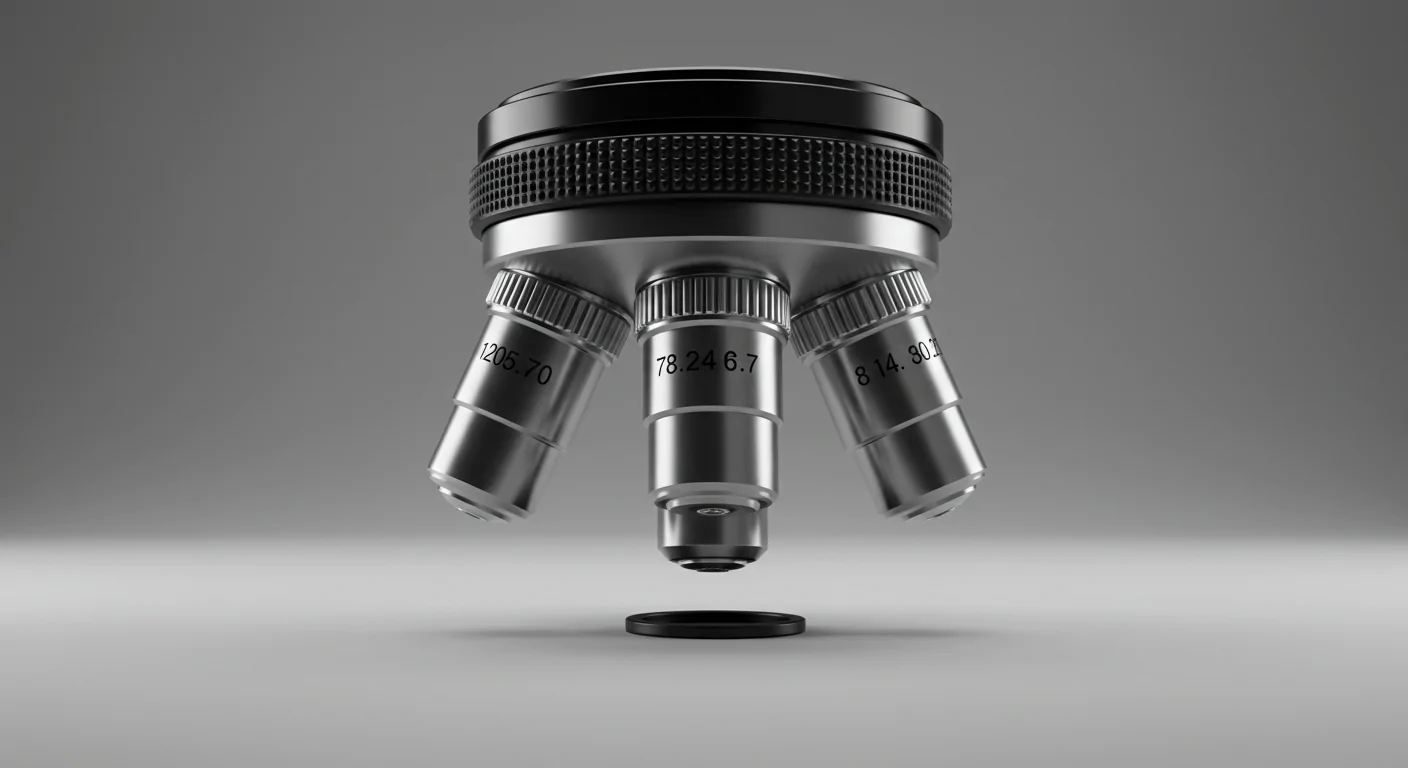
Microscope lenses are made of precision-ground glass and coated with special layers that help light pass through clearly. These coatings are very thin and can be damaged easily. Even a single scratch or smudge can lower the quality of your images.
Why Lens Care Matters
- Accuracy – A clean lens gives you sharp images so you can make correct observations.
- Longer Lifespan – Proper cleaning prevents scratches and coating damage, helping your equipment last longer.
- Efficiency – A microscope that works properly reduces delays and keeps your workflow smooth.
Common Causes of Dirty Lenses
- Dust from the air
- Fingerprints from handling
- Oil from immersion objectives
- Residue from samples or cleaning products
These problems can often be avoided with regular cleaning and careful handling.
Learn How to Clean the Microscope Lens — Avoiding Common Pitfalls

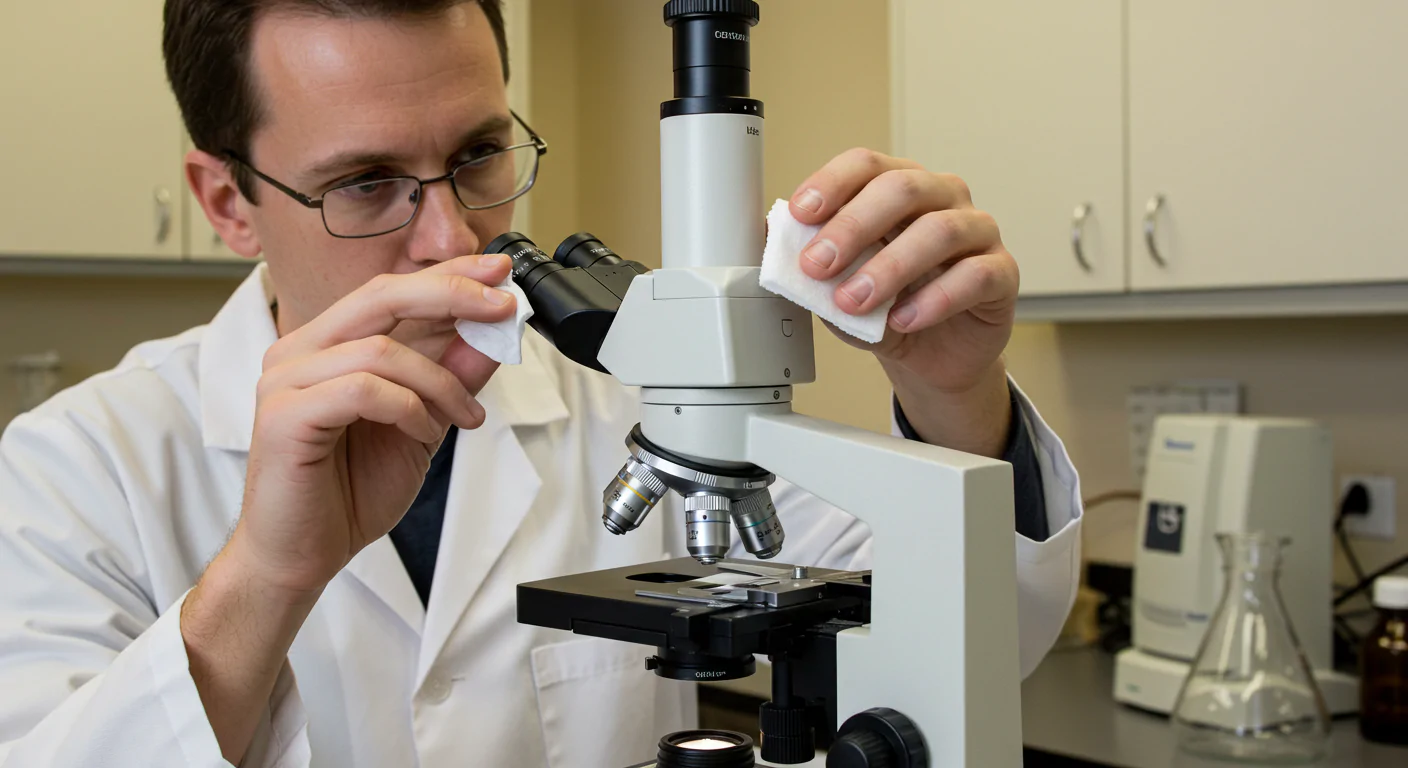
Cleaning a microscope lens is not the same as cleaning a window or camera lens. You must be careful and use the right methods to avoid damage. That’s why learning how to clean the microscope lens correctly is so important for protecting both the lens and the quality of your work.
Step 1: Inspect Before You Clean
First, figure out where the dirt is. Look through the microscope and gently rotate the objective lens. If the dirt moves with the lens, it’s on the lens surface.
Always start with the safest method: blow away loose dust using a blower bulb or gentle compressed air. This prevents scratching that can happen if dust is dragged across the glass (Leica Microsystems, 2022).
Step 2: Gather the Right Tools
To clean your lens safely, you will need:
- Lint-free lens tissue or optical wipes
- Cotton swabs with tightly wound tips
- Distilled water for light cleaning
- High-purity isopropyl alcohol (90% or more) for tougher spots (Microscope World, 2023)
Do NOT use:
- Paper towels or facial tissue
- Household glass cleaners
- Ammonia or acetone (unless recommended by the manufacturer)
These can scratch the surface or damage the coating.
Step 3: Use the Proper Cleaning Method
- Check the lens with a bright light so you can see the dirt.
- Blow away any loose particles.
- Moisten a lens tissue or swab with your cleaning solution—never drop liquid directly on the lens.
- Wipe gently in a spiral from the center outward (Scientifica, 2021).
- Dry the lens right away with a fresh, dry tissue.
This spiral motion moves dirt away from the middle of the lens, where it affects image quality the most.
Step 4: Mistakes to Avoid
- Pressing too hard, which can scratch or misalign the lens.
- Cleaning only occasionally—dirt buildup can become harder to remove.
- Using the wrong solvent, which can damage coatings.
- Reusing wipes or swabs, which can spread dirt instead of removing it.
Step 5: How Often to Clean
- Immersion and dipping lenses should be cleaned after every use.
- Other lenses should be checked weekly or monthly, depending on how often the microscope is used.
What Professionals Know About Safe and Effective Lens Cleaning
Even with the right tools and methods, there are times when it’s best to let a professional do the work.
When to Call a Professional
- Smudges or dirt remain after cleaning.
- There are signs of fungus inside the lens.
- The lens coating looks scratched or damaged.
- Images remain blurry even after cleaning.
Why Professional Care Matters
Professional technicians have the right tools, cleaning solutions, and training to handle delicate lenses without risk. They can also:
- Clean internal parts that users should not open themselves.
- Check for alignment problems that affect focus.
- Spot early signs of wear or damage before they get worse.
Syracuse Biomedical Services’ Experience
At Syracuse Biomedical Services, we specialize in maintaining and repairing biomedical equipment for hospitals, laboratories, and research centers. Our team follows manufacturer-approved cleaning methods and uses the right materials for every type of lens.
We offer:
- Scheduled maintenance programs so your equipment always performs at its best.
- Emergency servicing for urgent issues.
- Expert advice on proper care between professional cleanings.
This approach protects your investment and ensures your microscope produces accurate results every time.
A clean microscope lens is key to clear images, accurate results, and smooth lab work. While basic cleaning can be done in-house, it’s also important to know how to clean the microscope lens properly to avoid damage. Professional servicing, on the other hand, provides deeper care, checks for hidden issues, and helps your equipment last longer.
If your microscope is not giving you the sharp, clear images you expect—or if it’s been months since your last professional cleaning—it’s time to take action. Syracuse Biomedical Services is ready to help you protect your equipment and maintain the high standards your work demands.
In microscopy, clarity is not optional—it’s essential. Trust the experts who know how to keep your lenses spotless and your work reliable.
Contact us now for a delicate lens care!
Explore Biomedical Services in detail through these links:
1. How Much Do X-Ray Cost and What You Need to Know
2. Everything You Need to Know About Volumetric Pumps
3. How much do X-Ray Cost Without Insurance? What to Expect in 2025
4. Biomedical Equipment Services


